Uses Slaters 10mm coach wheels S9121. Slaters bearings used in solebar and pivoting piece. Centre wheelset needs a slotted bearing 1/8" wide, 3.2mm deep and 10mm dia with a short 1.6mm spigot of 6.3mm diameter to locate in the solebar and fixed with superglue or epoxy. 1/16 stainless rod connects the two Slaters coupling hooks (G9026) and also acts as the pivot for the compensated wheels.
Models
3D Model
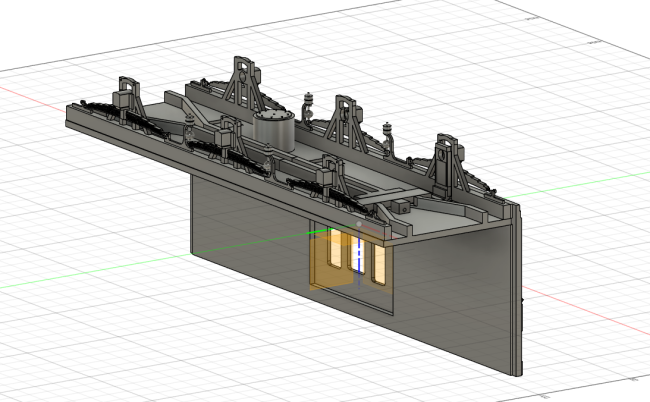
One piece body with modified window arrangement. Have printed successfully at 0.12mm layer height. Produces a strong and square body. Will likely need heated bed, a brim and some sort of plate adhesive (e.g. magigoo) to stop the corners lifting when printing.
3D Model
Lid screws to the underside of roof and allows a PP3 battery to be held for the purposes of lighting the central cabin. I printed solid (100% infill) with support.
3D Model
(currently untested)
3D Model
The side has a cutout on the reverse that helps alignment of this end piece. The pipe that runs along the top overlaps the side piece and will need cleaning up after printing to ensure it isn't interfering with the fit.
Two holes are provided to locate the two hoses at each end of the van. The hoses from the BR Cattle Wagon posted here could be used (with the bottom locator cut off)
Two holes are provided to locate the two hoses at each end of the van. The hoses from the BR Cattle Wagon posted here could be used (with the bottom locator cut off)
3D Model
See comments re the pivoting axle piece. The floor locates into a groove in the sides - ensure the grooves are clear prior to gluing and use an angle to hold at 90 degrees whilst the glue is curing.
3D Model
3D Model
ALTERNATIVE PLAIN FLOOR - Use this if you are using an alternative suspension system eg Peter Korzelius units
3D Model
This is held in place by a 1/16" piece of stainless rod that runs the length of the wagon and is fixed to the coupling hooks at each end. After printing this piece it helps to run a 1.6mm bit through the hole a few times so that it pivots freely. Slaters wheel bearings should be a tight push fit in the two large holes.
3D Model
Print on its end if you can with a brim. I used 0.2mm layer height, 20% infill and support at 20% density.
On the underside is a cut out to take dolls-house style LED lighting eg https://www.amazon.co.uk/gp/product/9302259897/ (cut in half at the mark) and a 9v battery
On the underside is a cut out to take dolls-house style LED lighting eg https://www.amazon.co.uk/gp/product/9302259897/ (cut in half at the mark) and a 9v battery
3D Model
3D Model
I printed this flat, 0.2mm layer height and with 20% infill and support at 10% density. There is a cut-out on the rear for the window perspex.
3D Model
Modified for use with one piece body
3D Model
I printed face up, 100% infill and with support at 10% density. Slaters wheel will run in the centre with vertical movement (no bearing). Other (non-pivoting) axle runs in a standard slaters bearing.
3D Model
Modified for use with one-piece body

Reviews/Comments (subject to moderation)
Really good looking horsebox
I printed this in PETG. It was to big to fit on the bed of my Prussa, so I had to slice it into 3 main body sections. I also modified the floor to overlap the joints and to accommodate a modified the suspension to use a 3D printed form of Applegate suspension (as described in NL&J October 1994), which I like for 6 wheel stock. I am really pleased with how it turned out. Thanks very much for providing this Steve.