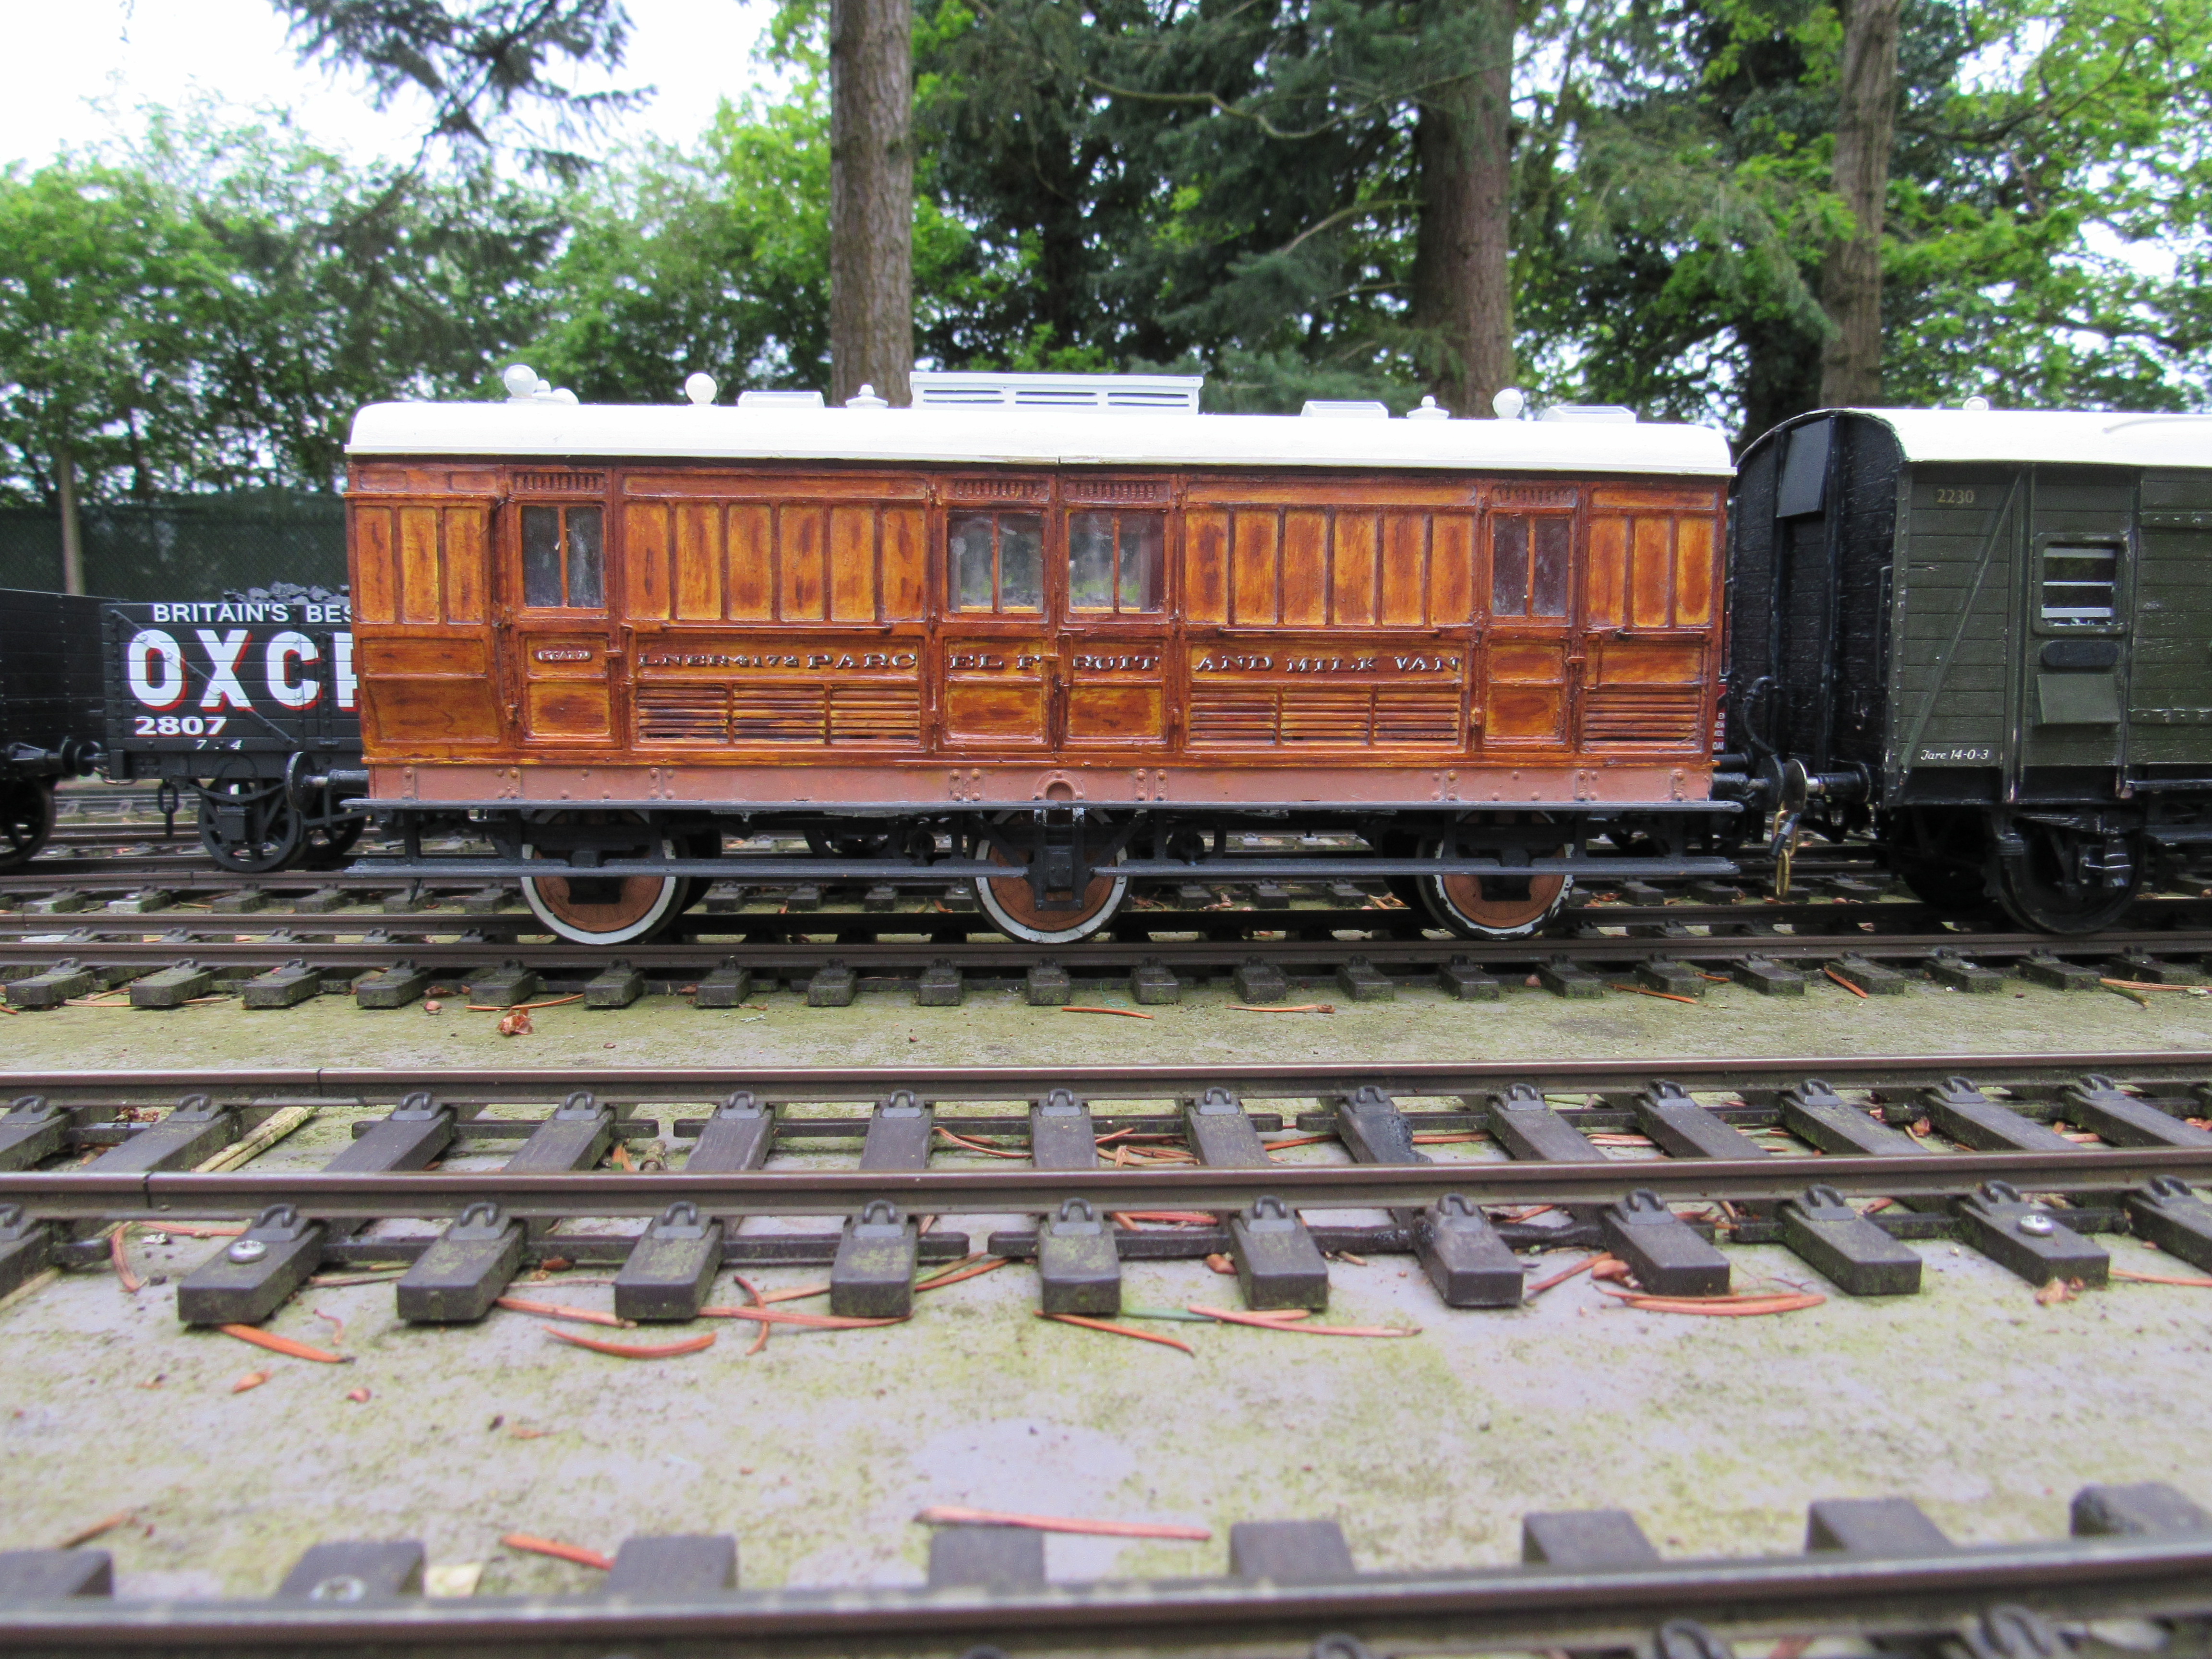
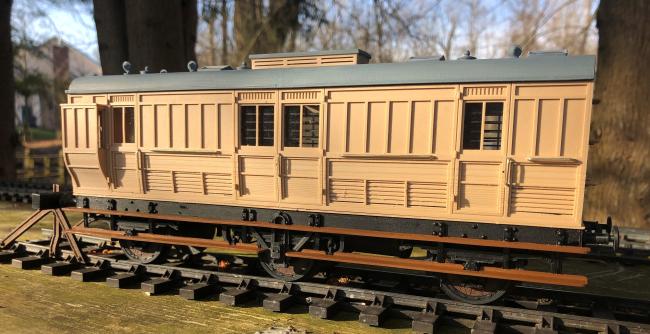
1/32 scale. From drawings in Historic Carriage Drawings Vol 1 by Nick Campling. Also see drawing posted by Mark Reader · #2510 · Jan 5
Peter F Davis
Models
3D Model
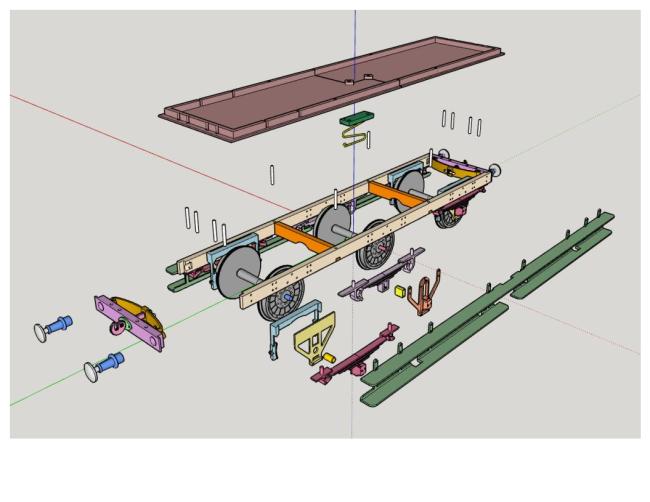
Uses rectangular Brass tubing 1/8" x 1/4" x 7mm long
3D Model
Held on to the sole bar with small escutcheon pins. .035"
3D Model
Uses round Brass tubing 4 mm od x 3mm id x 7mm long
3D Model
3D Model
None on center wheels.
3D Model
Will just fit 220mm X 220mm table diagonally.
Held on to the sole bar with small escutcheon pins. .035"
Held on to the sole bar with small escutcheon pins. .035"
3D Model
Will just fit 220mm x 220mm table diagonally.
I use short bits of filament to locate sole bar to floor. Holes may have to be drilled to size to fit, as will holes for the Springs (2mm) and steps.
I use short bits of filament to locate sole bar to floor. Holes may have to be drilled to size to fit, as will holes for the Springs (2mm) and steps.
3D Model
Two are necessary. And a third one with the tabs cut off to support the gas tank.
3D Model
I use short bits of filament to locate buffer beam to the floor. Holes may have to be drilled to size to fit, as will holes for the hook plate.
3D Model
3D Model
3D Model
3D Model
3D Model
3D Model
3D Model
3D Model
3D Model
Tap 0-80 or 10 BA
3D Model
You'll also need Ground metal rod:
Two axles 3mm dia by 62mm long
One axle(center) 3mm dia 64mm long with the ends turned down to .093" for 6mm.
Two axles 3mm dia by 62mm long
One axle(center) 3mm dia 64mm long with the ends turned down to .093" for 6mm.
3D Model
3D Model
Tap the hole 0-80 or 10 BA to attach 045.0 zigzag spring from the bottom.
3D Model
Tap the hole 0-80 or 10 BA to attach 045.0 zigzag spring from the bottom.
3D Model
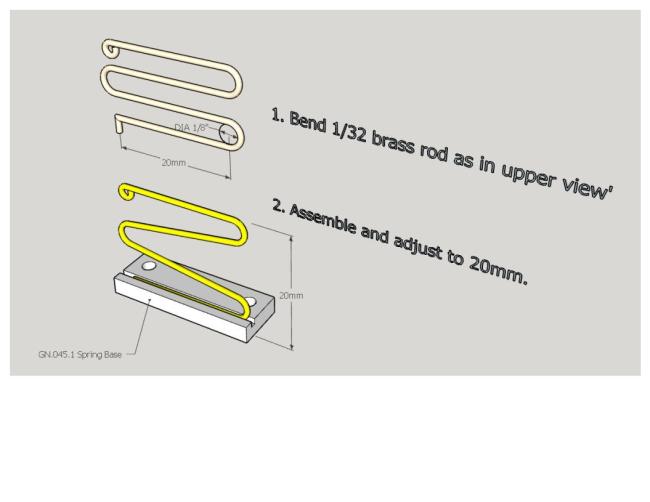
See "EE Zigzag spring.jpg" to make spring.
3D Model
3D Model
3D Model
3D Model
3D Model
3D Model
3D Model
3D Model
3D Model
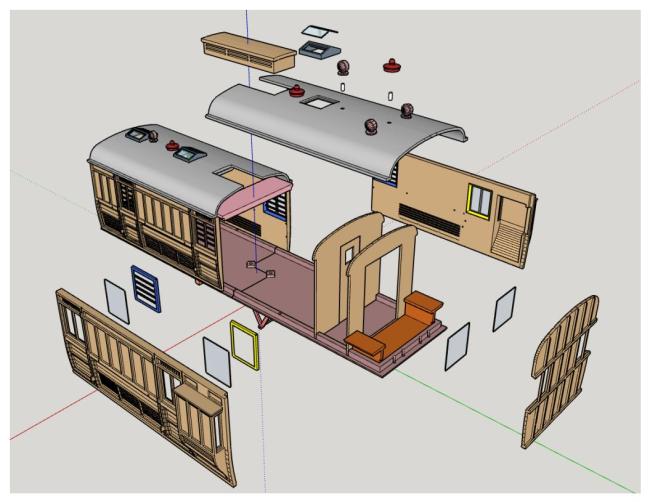
For the windows, cut and fit pieces of clear .02" plastic.
I used "G-S Hypo Cement". It is clear and has a small capillary tube for an applicator.
I used "G-S Hypo Cement". It is clear and has a small capillary tube for an applicator.
3D Model
3D Model
3D Model
3D Model
3D Model
3D Model
3D Model
Cut and fit a pieces of clear .02" plastic for the window.
3D Model
3D Model
Drill the hole for a short bit of filament.
3D Model
Wider base version.
Drill the hole for a short bit of filament.
Drill the hole for a short bit of filament.
3D Model
A simple Side lamp for atop the lookouts. I painted mine red with red/brown lenses.
Reviews/Comments (subject to moderation)
Very interesting looking brake van
I re-scaled this to 10mm/ft to match the rest of my stock, I printed it in PETG after I had discovered the unsatisfactory performance of PLA on another vehicle when exposed to UK summer sun. I had some difficulties getting the roof to print satisfactorily, but got there in the end. I found that printing on end was best !. It took me a long time to paint this as they were made of Teak and its difficult to get a satisfactory representation. It was also quite difficult to get the "Parcel Fruit and Milk Van" lettering to fit satisfactorily, not that that is any reflection of the design of the van parts, just something to bear in mind if you are going to paint and letter it. I am pleased with the end result..